Adding Files to the Timeline in OpenShot
Once you have some assets in the Project Files tree, drag and drop the ones you want into the Timeline. The Timeline is exactly what its name suggests—a line that represents the flow of time through your video. It starts at the far left and plays toward the right, finishing at the end of the last asset.
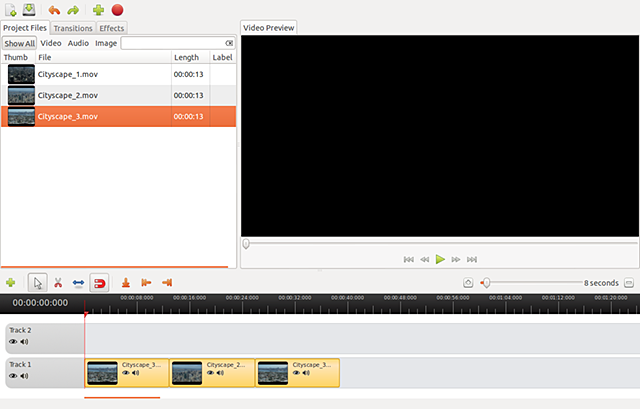
The screenshot below shows the simplest way to arrange video clips. It consists of three separate clips that play one after another, cutting instantly from one to the next.
From here you can experiment with changing the order and duration of each asset.
You can add transitions between clips such as dissolves (cross-fades), and add interesting video effects to each clip. We'll have instructions for those tasks soon.