OpenShot Chroma Key
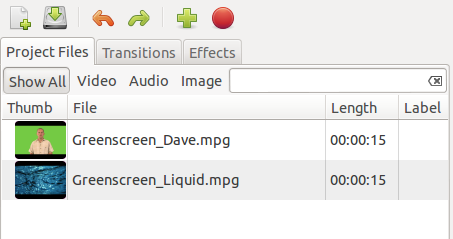
To create a chroma key (e.g. greenscreen or bluescreen) in OpenShot, begin by importing the files you're going to use. In this example we have a file called Greenscreen_Dave.mpg which is a subject filmed against a green screen, and a file called Greenscreen_Liquid.mpg which is a texture to use as the background.
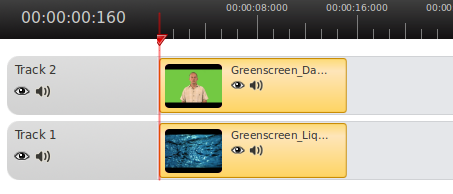
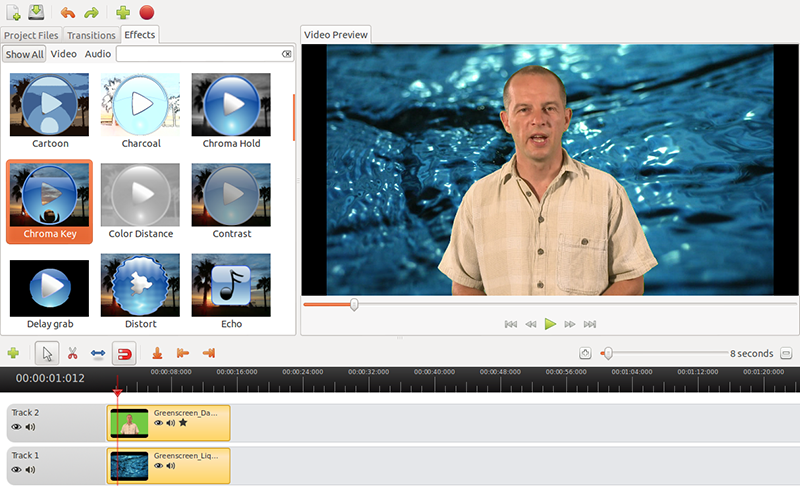
Drag the file to be keyed onto Track 2 in the timeline, and the file to use as the background onto Track 1. The plan is to make the green part of the upper image transparent so the file underneath becomes visible.
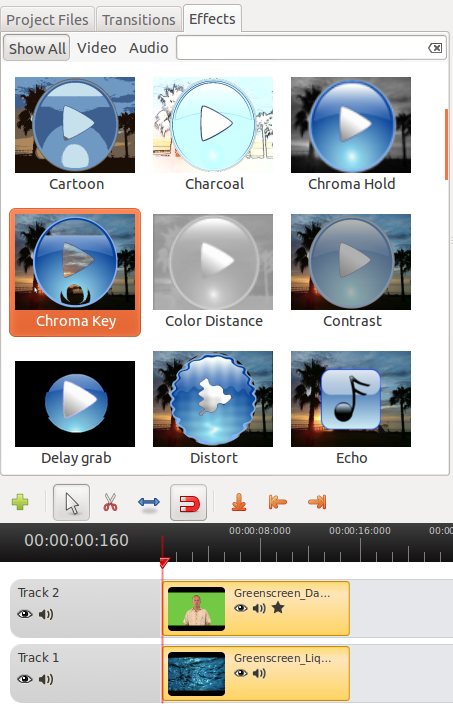
Click the Effects tab, find the Chroma Key effect and drag it onto the top file in the timeline. You will see a star appear on the file in the timeline.
Right-click the top file in the timeline and select Properties. In the Properties window, click the Effects tab and then click the Chroma Key effect.

Click the green colored area next to the word "Key" (shown above) to bring up the Pick a Color window (shown below). Click the eyedropper tool and then click on a green part of the video image.
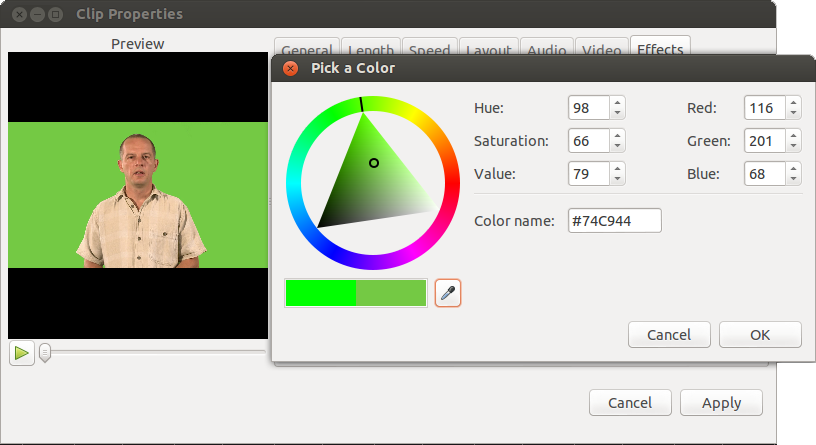
Click OK, then click Apply in the properties window. You should now be able to scrub through the timeline and see the effect in action.
Done! If you have any problems or questions, please ask in our video forum.