Audio Sequencing Workshop: Recording
We want to record a band, edit the tracks, mix it and master it so it sounds passable. So let's start with creating a new project and tracks.
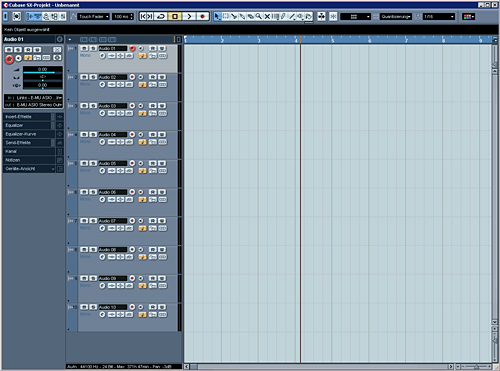
In my Cubase SX3 I create a new project, give it a name (like "song1") and save to the hard disc. Now we need several tracks. But first we should check the preferences. Let's use a sampling rate of 44,1kHz and a bitrate of 24 bit. The 24 bit gives us more dynamic while recording. The 44,1kHz is a standard. This should work properly with every soundcard.
Now let's create 10 mono audio-channels.
The band we're recording has a bongo, bass, guitar and vocals. If you don’t have a separate audio-interface you can use your onboard-soundcard. For the vocals, guitar and bongo-recordings connect a microphone to a preamplifier, via the gain/trim you can choose the amplification (a drum-set or electric-guitar can be much louder than a triangle, so the triangle needs more gain).
Let's start with the guitar. Place the microphone in front of your guitar-amp, crank it up and gain your preamp, so it is not distorting.
> For more information about soundcards and preamps please check this website or ask your local music store <
Now open the edit-channel-window and set up the input correctly, so you get the signal. Click on the small loudspeaker-symbol to hear your signal. Adjust the output of your preamp so your soundcard-input is not distorting. To do this turn the output of your preamp (if there's no output-volume, use the gain/trim to control the volume). The maximum should be around -10dB at your sequencer.
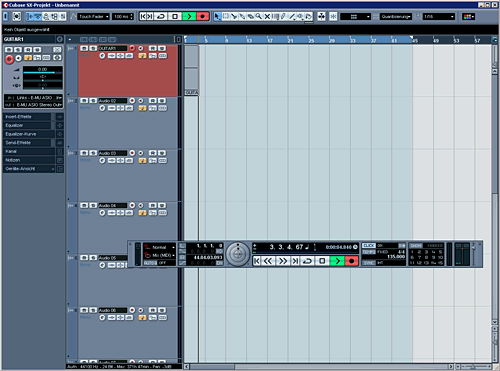
Now we can add a metronome/click to play on a beat. To do this open the transport-window and switch the "click off/on". Press Tempo to "Fix" and adjust the speed to your song's. Now get on play — you should hear your guitar plus the metronome.
So now we're ready to record. In the track-list activate the small "record enable" button. It should be red now. Now name the track for example "guitar1".
If you click the record button on the transport-window you can wait some beats and start recording. There you go. If you want to record a different guitar-take now just adjust your setting on the next tracks and there you go. That’s how we do it for all the instruments. You can also drop the recorded take to the next track below and go on recording on the same track. In this case don’t forget to name the tracks correctly.
The bongos are recorded in the same way, just without the guitar-amplifier of course. Place the mic in front of the Bongos and gain/trim on your preamp. The vocals the same. The bass can directly be plugged into the preamp and recorded.
If you listen to your recorded tracks and it is crackling there are many possibilities. Try to record again with less preamplification. Or check the cables and connectors. This may solve the problem. If your song is still crackling check your soundcard- and cubase-manuals for more information.
Now let's colour the tracks so we can work easier.
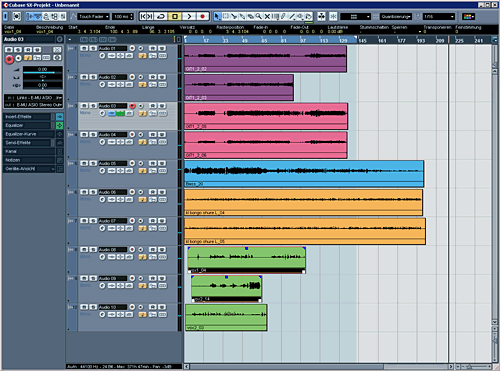
The pink and purple tracks are guitar tracks (L and R), the blue track is a bass-track, orange is bongos and green vocals. This is my favourite colouration. You might have your own. Now let's arrange them so we have a good overview. If not done yet, name the tracks.

I arrange the tracks by putting the percussive instruments above, then the bass, then guitars and then the vocals. It's kinda standard, though every engineer has their own system.
Next Page: Editing